You have no items in your shopping cart.
Growing hosta from seeds
Text a photo: Eurohosta+V.Mirka, March 2021
|
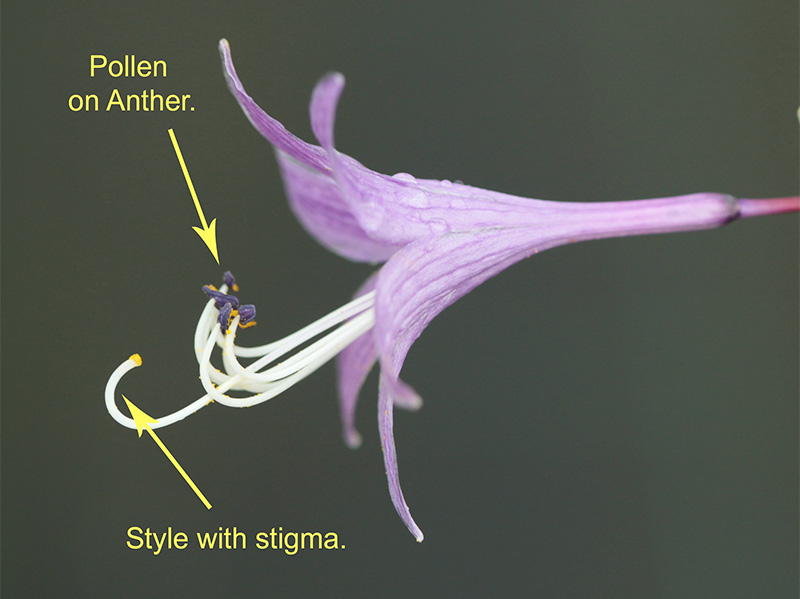
Recently, we have received from our customers and enthusiastic hosta growers, several requests for information how to grow hostas from seeds. Growing hostas from seed, you will have a lot of fun with this activity, but it has certain rules that must be followed. A bit theory at the beginning... In each hosta flower are present male (stamen) and female (carpel and stigma) structures. If you put pollen from one flower to the stigma of another flower, the wet stigma causes the pollen to germinate and gradually grow into the ovary, after which seeds are formed. Any plant that will grow from those seeds will be unique, since it will inherit genes from both the “father” and the “mother” plant. This process is called sexual reproduction of plants, and it leads to the formation of new and unique hybrids, cultivars and varieties. On the other hand, if you want to reproduce exactly the same plant, so that all offspring will be identical to the mother, you should use vegetative propagation methods such as cuttings, grafting and so on. Taking cuttings is the most common artificial vegetative propagation method, where pieces of the “parent” plant are removed and placed in a suitable environment so that they can grow into a whole new plant - a genetically identical clone of the parent. In nature, pollination of hosta flowers is provided by bees and other insects. Let’s collect naturally produced seeds from hostas and grow them, or try to use selected plants for reproduction - hybridize them. You can get individual plants which do not grow anywhere else.
Not all hosta cultivars form seeds. Many cultivars do not produce seeds at all - because they are sterile. Check in the garden, or on the internet which hosta cultivars form seeds and use those for hybridization. Some others can in principle form seeds, but do not do so because their flowers are not easy pollinated by insects. Some hosta flowers have very long styles and the stigma protrudes outside of the flower, so that common insects such as honey bees and bumblebees cannot reach the stigma and cannot transfer pollen from the stamens.
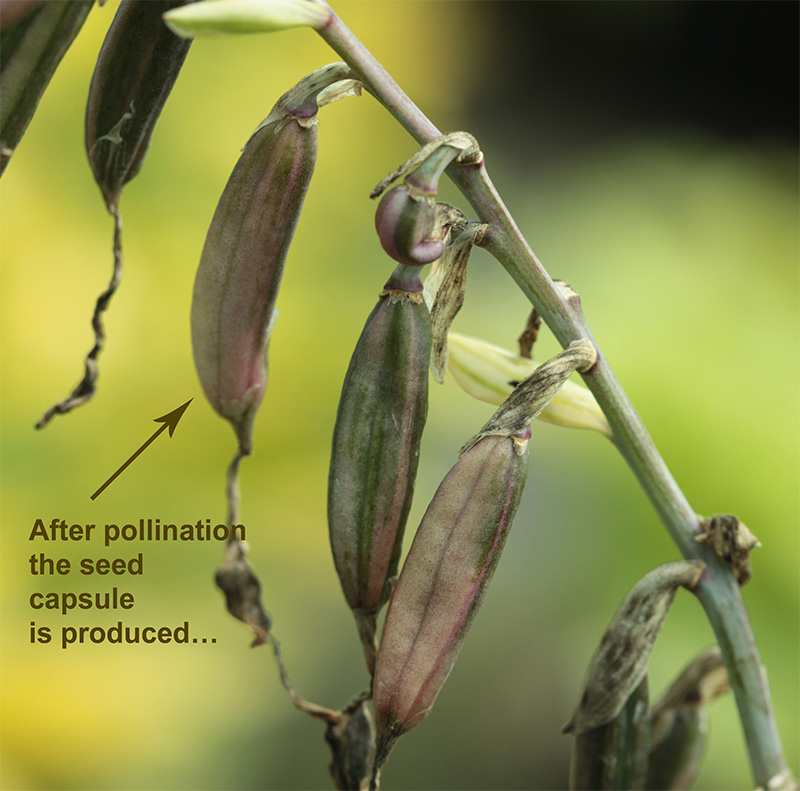
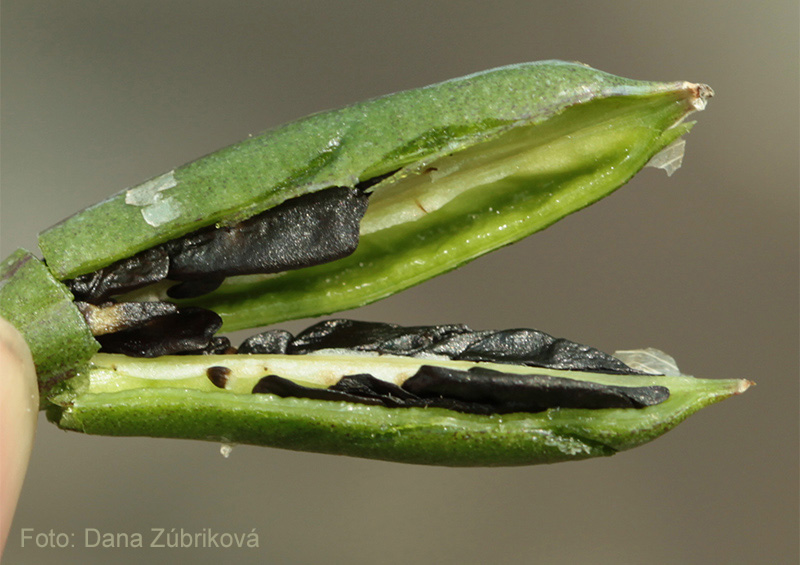
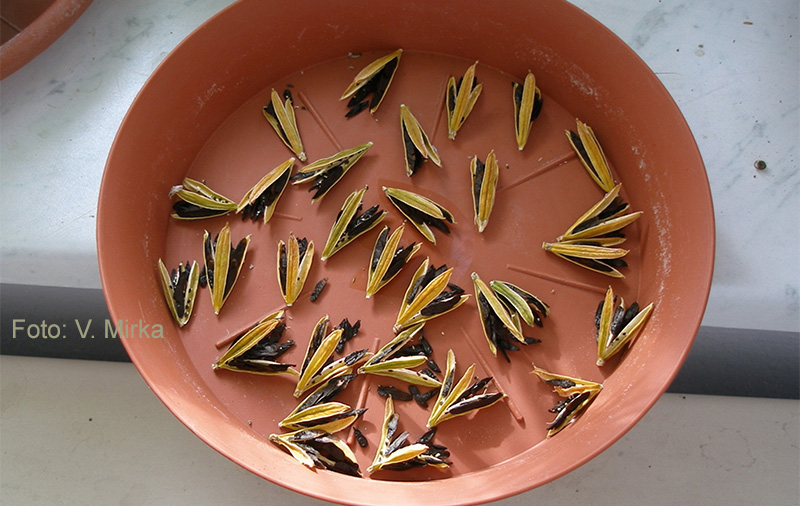
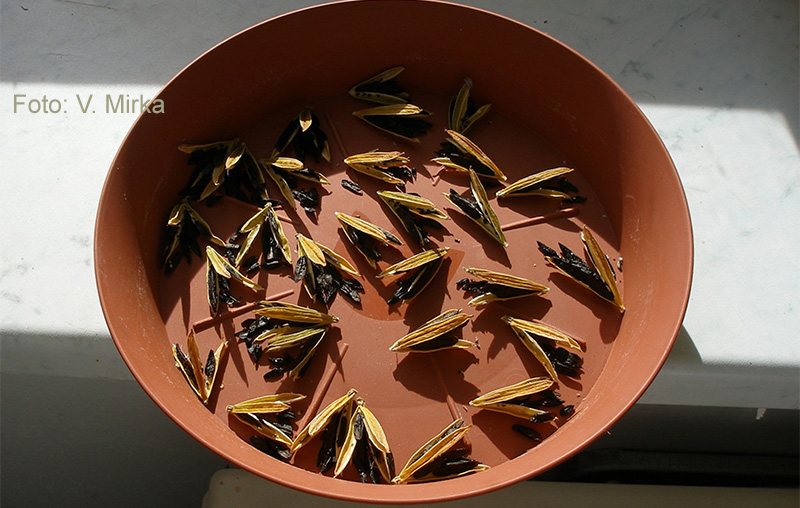
Hosta seeds in capsule. Few useful advices It is very difficult to pollinate fragrant hostas (hybrids of Hosta plantaginea). They have large, fragrant flowers; their anthers produce large pollinia with big pollen that is not compatible with most of the other flowers. Due to this incompatibility between the pollen and stigma, crossing is difficult and getting your own fragrant hosta cultivars is not very easy... Some hostas have fertile pollen, but the carpel is sterile. Keep it in mind when working with these cultivars. Hostas with a white center (such as Cherry Berry) can form seeds, but the seedlings can be completely white and do not form chlorophyll. Therefore, the seedlings decline soon after germination.
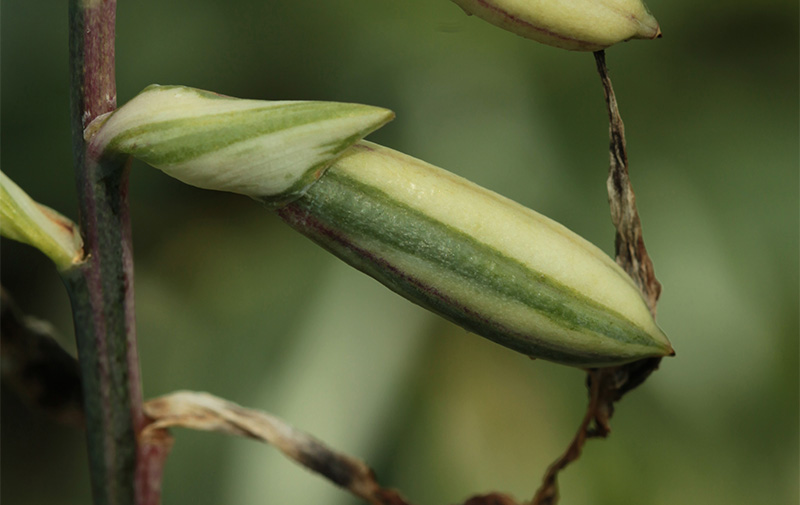
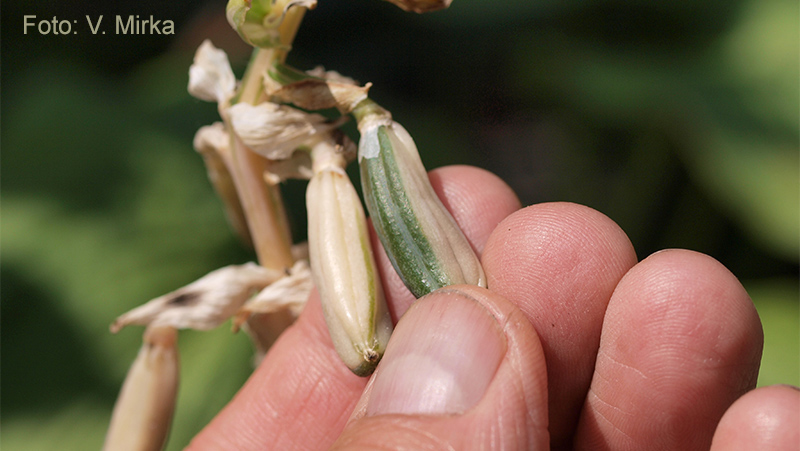
The seed capsule can be monochromatic (green or yellow) or it can be two-tone. Some hosta growers believe that the two-tone capsules are more promising for getting streaked seedlings...
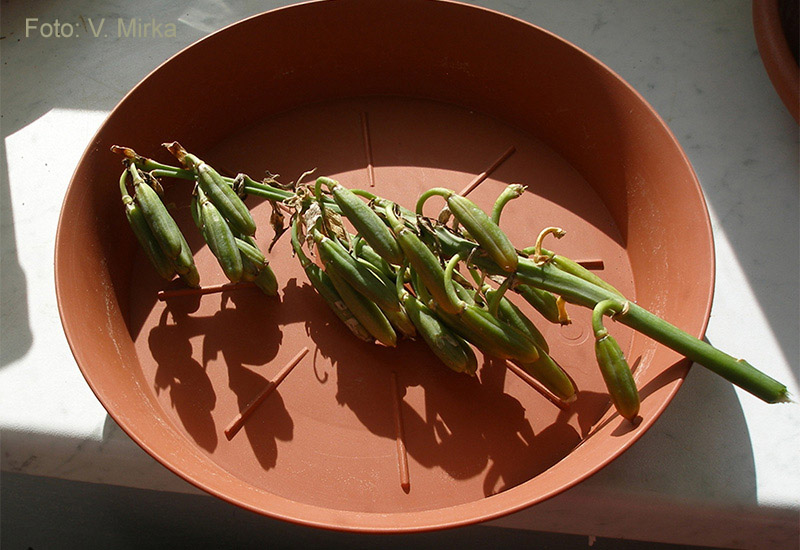
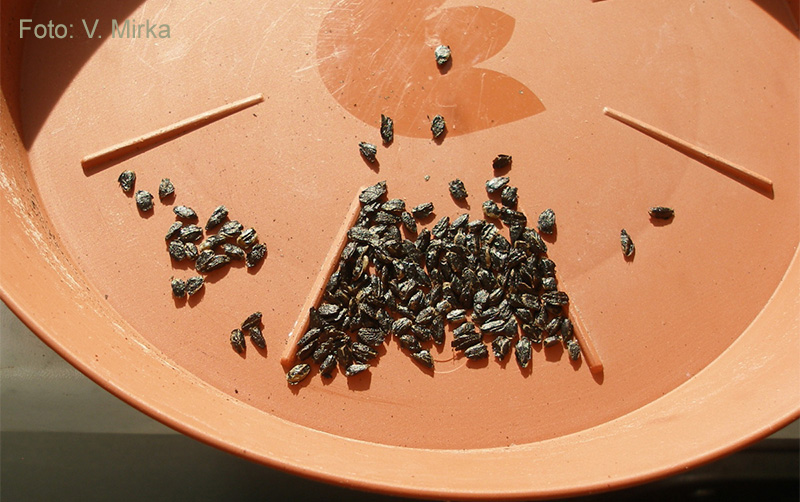
Pollination It’s very simple. Just pick up stamens from a selected cultivar and put pollen onto a stigma of another cultivar. Then just wait until the mother plant creates seeds. That’s it. The evening before you will pollinate your flowers, choose the right cultivar and the right flower as the “father” plant. Then open it and take away the stamens. Place them in a small plate and keep them until the next morning in a dry room or under other sheltered conditions. The anthers will open and the yellow pollen will appear by the morning. Of course, do not forget to mark the plates, so you know which pollen belongs to which cultivar. Pollen will remain viable for several days, so you do not need to collect it every day… You can store stamens in a freezer for not only 1-2 days, but for months. Use this information in you pollination strategy. Bumblebees wake up early in the morning, at about 5 o’clock, and bees about one hour later. If you are not fast enough, they will pollinate the flower instead of you! Solution? In the early morning, open the flower of the “mother” plant and use a forceps or small scissors to cut out all the stamens from the flower. Be careful and do not damage the carpel or accidentally pollinate the flower with its own pollen. Preferably do the pollination between 10-11 o’clock in the morning. In that time the stigmas are best developed and mature, so there is the highest probability of successful pollination. After a few days, it will be clear whether the pollination of the flowers was successful or not, by observing if capsules are formed. Keep the capsules clean from flower residues as prevention against fungi. When black seeds are present in the capsule, you can start harvesting them. Save the opened capsules and store them in a dry and warm place. Let them dry for several days. Then collect the seeds and store in a dry, dark place until they will be sowed. Let the seeds dry for several days
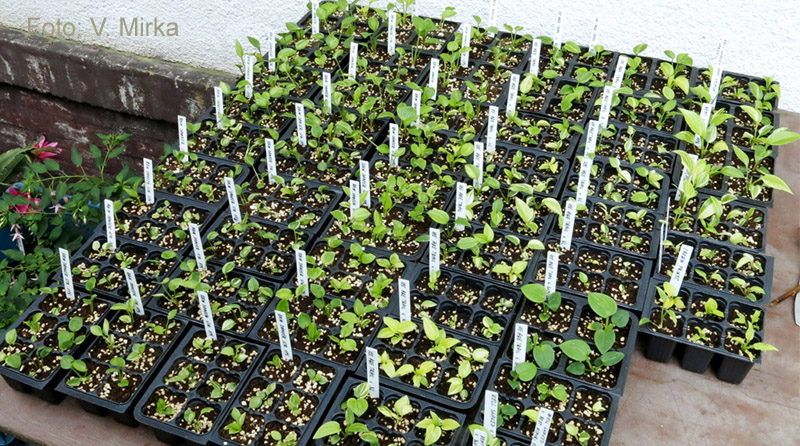
Let’s sow seeds… There are several ways how to grow hostas from seeds...Hosta seeds keep their germination ability only a very short time; sow them as soon as possible. Hosta seeds stored until spring at room temperature lose significantly their germination ability and the emergence of spring sowing is lower than those from autumn. Some growers have good experiences with storing seeds in the freezer for extended periods of time, even for several years. But we have no personal experience with this method of storage, we cannot comment it. Sow outside in the fall - In October or November buy good quality soil and fill up the seedling pots. Sow seeds in pots with a diameter of 10-20 cm. - Sow the seeds in a good density, due to the expected lower germination. - We usually sow seeds from one parent plant into one pot. Mark the pot with the names of the “mother” and the “father” plant. - Place the pot into the garden, under a roof or in any other area protected from rain and do not water it until spring. In the spring, when the danger of frost has gone by, in the middle of April, place the pots into an open area and start watering them. It is best to cover them with some transparent cover to keep high and sustainable moisture and air humidity. - The seeds begin to germinate in May. In the middle of July, the seedlings are already large enough to be placed individually into small pots. The second year, the young plants are already strong enough to make flowers and bloom. - Another way is to sow seeds in October or November in an open ground soil area. Of course, first prepare the soil very carefully as the seeds are very small and delicate. - The next way to grow hostas from seeds is to store seeds under appropriate conditions and sow them in the spring. Be careful when doing this, as some seeds can lose their germination ability and the percentage of germination can be significantly lower in the spring than in the autumn. Sow indoors during the winter Sow indoor during the winter is more difficult to care for. First of all, you need a suitable indoor space, where the temperature is around ±20 °C, where you will have enough space to care for plants. You should be able to manage lighting, watering and other factors. So this type of cultivation is more expensive and often requires some investment. - Buy a common sowing substrate in your local garden shop. - Pour the soil into suitable pots, for example with a diameter of 10-20 cm. Slightly moisten the soil before sowing. - The time suitable for sowing is from December. Sowing seeds in January or February is also appropriate. - Sow seeds on the surface of the soil. You can cover them with a little bit of soil or just put on a bit fine water-absorbent material on the surface. - Hostas germinate in approximately 7-20 days, depending on indoor temperature and humidity. They do not need light to germinate. The germination temperature should be a bit higher, about 24-25 °C. It is advantageous to cover the flowerpots with a plastic cup to increase the humidity. Spray the soil surface at least once a day with water to keep the soil surface moist. If the soil dries out, the seeds will not germinate! However, be careful, the soil should be moist, not wet. - After germination starts, you can reduce the temperature to 20-22C. - When the plants reach a size of about 2 cm, you can remove the plastic cover cups from the pots. - As soon as the seeds start to germinate, it is necessary to illuminate the young plants. You need to use special grow lights. LED grow light or grow induction tubes are available on the market nowadays. Suitable are those with a light intensity 6400K, and with a power of 100 - 1000 W, depending on the area you want to illuminate. - When the plants grow up to 3-4 cm, you can replant them and put them into separate small pots, and grow them until spring separately. - It usually takes 3-4 years for a new hosta to show all their good and bad qualities. Therefore, wait and do not throw out prematurely those that seem to be too small or too big, or too boring and not nicely coloring. It may easily happen, that in 3 years directly those, you wanted to throw away, become the most beautiful hosta in your garden. You can still try it if you have the space available, and care is not much different from the care needed when growing peppers or tomatoes for spring planting. Plant a few of your own seedlings in the garden or flowerpot and you will have an original hosta at home!
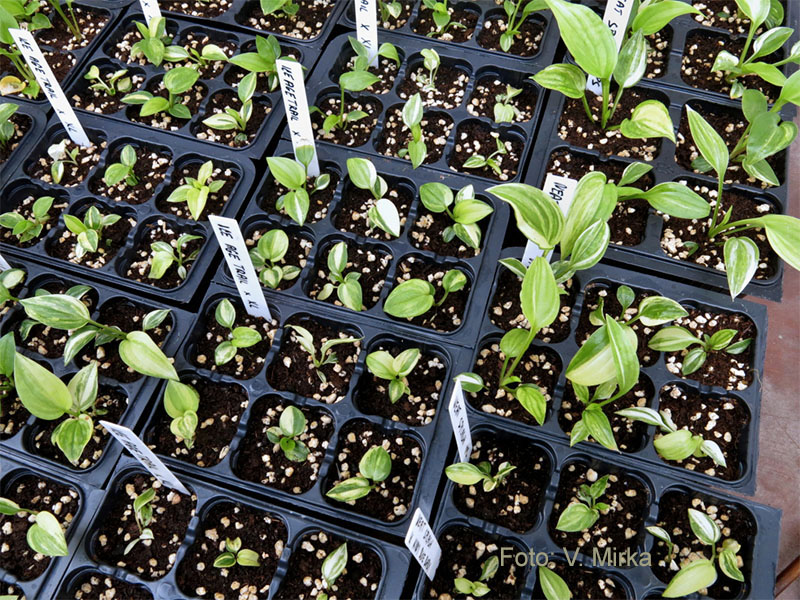
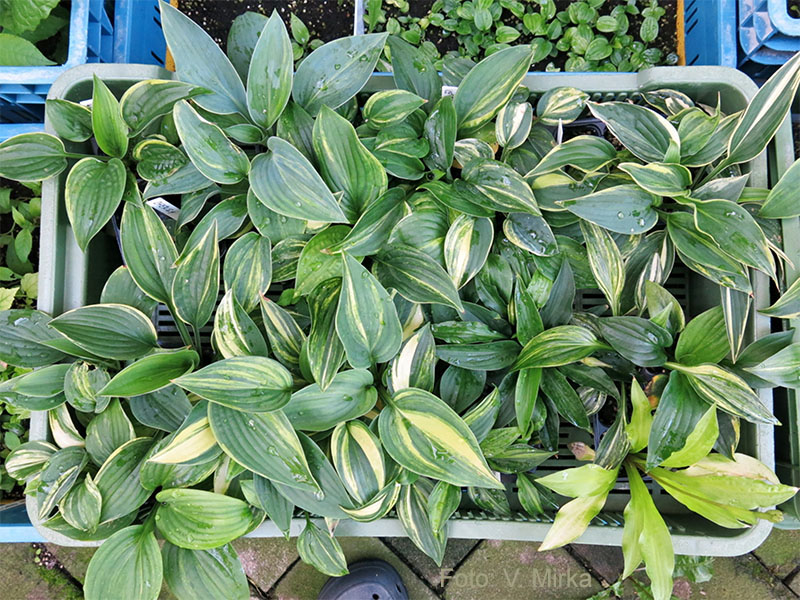
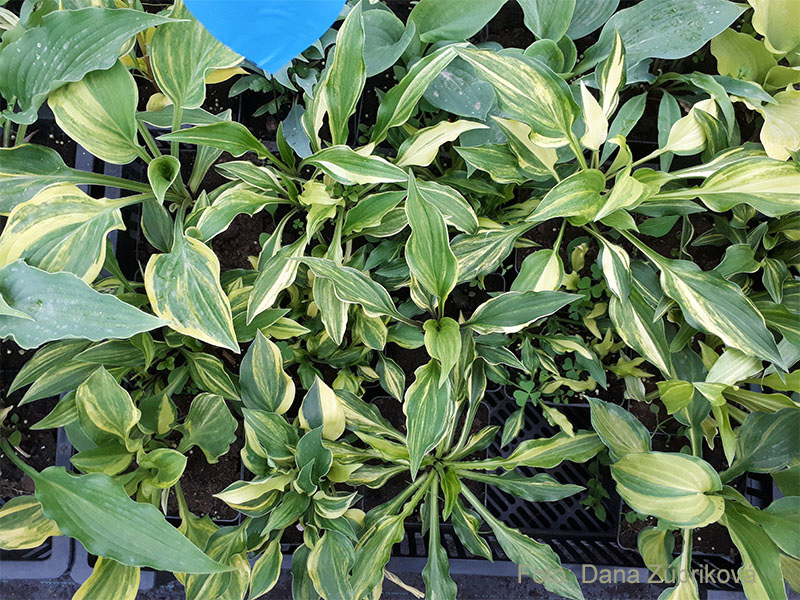
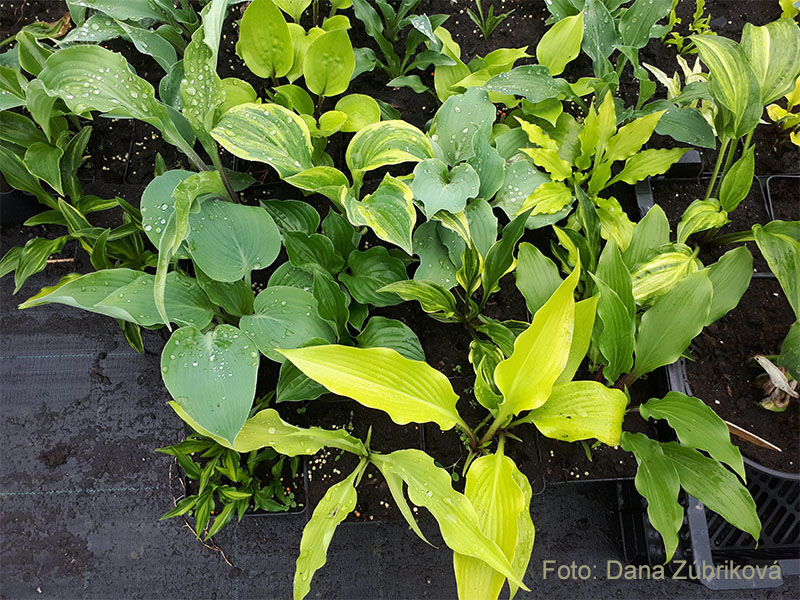
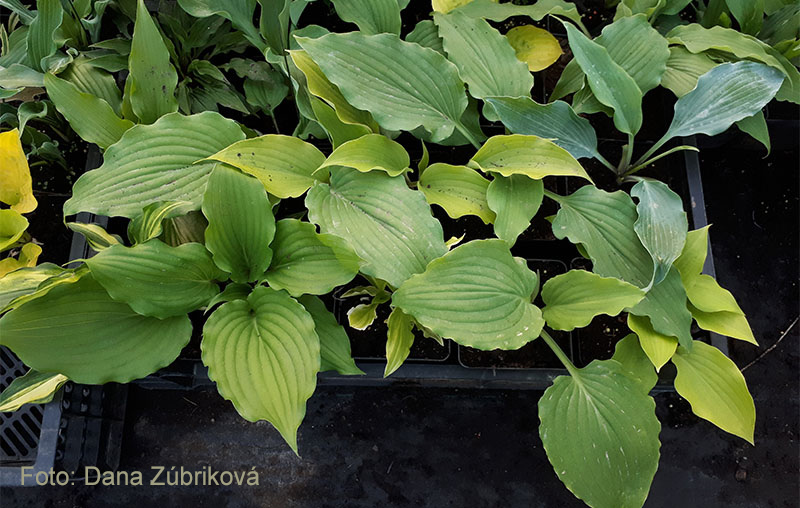
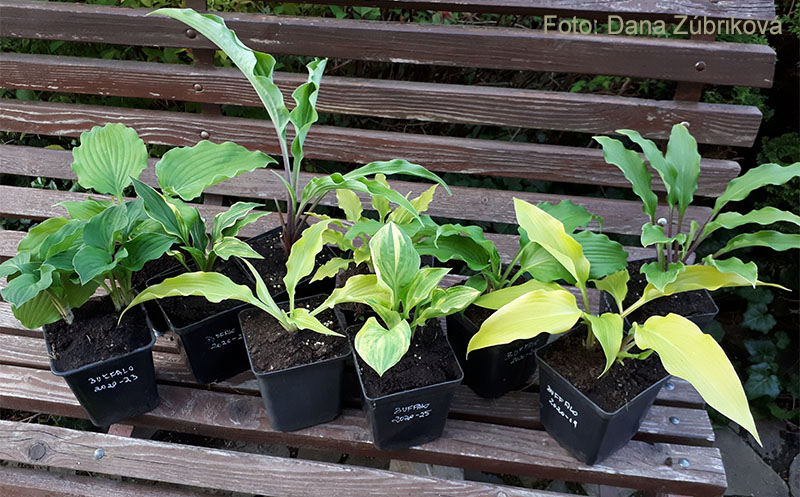
Results of hybridization - promising new hosta seedlings.
© This text and photos are protected by intellectual property rights under the Law no. 618/2003 Coll. (the Copyright Act). |
||||


% SALE %
-
Beyond Glory
Regular Price: €9.99
Special Price: €6.99
-
Cosmopolitan
Regular Price: €4.49
Special Price: €3.59
-
Exploded Pumpking
Regular Price: €4.59
Special Price: €3.67
-
Little Treasure
Regular Price: €9.99
Special Price: €5.99